
So, you've got a new trampoline and you're ready to get bouncing. Awesome! But before you can start soaring, there's the setup. It might seem a bit daunting with all those parts, but don't worry. We're going to walk you through the whole process, step-by-step. These instructions for trampoline setup are designed to make things as clear and easy as possible, so you can get to the fun part sooner. Let's get this thing built!
Key Takeaways
- Always check that you have all the parts before you start putting anything together.
- It's best to have a level spot for your trampoline, and make sure there's plenty of open space around it.
- Putting the frame together and then attaching the legs is the first major step.
- Attaching the springs can be tricky, so having a helper and using the right tools makes a big difference.
- Once it's all set up, do a quick check of everything and a small test bounce to make sure it's stable and safe.
Preparing For Trampoline Setup
Alright, so you've got your shiny new trampoline box (or maybe boxes, they often come in a few parts). Before you even think about bouncing, let's get this prepped. It's like getting ready for a big project – you wouldn't just start hammering, right? We need to make sure we have everything and know where it's going.
Unpack and Inventory All Components
First things first, let's get everything out of the boxes. Don't just dump it all in a pile; that's a recipe for confusion. Spread out the pieces and try to group similar items together. You'll have the frame pieces, the legs, the jump mat, all those springs, and the safety net stuff. It's super important to check this against the parts list in your manual right away. If something's missing, you don't want to find out halfway through assembly. Missing a few springs can really mess things up, and nobody wants to call the company later to track down a tiny bolt.
Gather Necessary Tools and Equipment
Most trampolines come with a basic tool, usually a little wrench or a screwdriver. But honestly, having a few extra things on hand will make your life a lot easier. You'll definitely want a power drill with a Phillips head bit if you have one – it'll speed things up way more than a manual screwdriver. A rubber mallet can be handy for gently tapping pieces into place. And for attaching those springs? You'll absolutely need the spring pulling tool that should be included, and trust me, wear gloves. Those springs can pinch your fingers something fierce.
Here's a quick rundown of what you might need:
- Power drill (with Phillips head bit)
- Spring pulling tool (usually included)
- Rubber mallet
- Work gloves
- Your trampoline's instruction manual
Choose the Ideal Location for Your Trampoline
This is a big one. You can't just plop this thing down anywhere. Think about safety first. You need a nice, flat, level spot. No slopes! Also, make sure there's plenty of clear space around it. We're talking at least six feet of open air on all sides, and definitely no trees, fences, or power lines overhead or nearby. You don't want any unexpected obstacles when someone's doing a big jump. Also, consider who's going to be using it. If it's mostly for the kids, maybe put it somewhere you can easily keep an eye on them from the house.
Picking the right spot is more than just convenience; it's a key safety step. A stable, clear area prevents accidents and makes the whole setup process smoother. Don't rush this part – a good location sets the stage for safe fun.
Assembling the Trampoline Frame
Alright, let's get this trampoline frame put together. This is where things start to look like a trampoline, so it's pretty exciting. First up, you'll want to lay out all those circular frame pieces. They usually just snap or slide together, kind of like a big puzzle. Make sure they're all connected securely until you have a complete ring. It’s a good idea to have someone help you with this part, just to make sure everything lines up right and you don't miss a connection.
Connect the Circular Frame Pieces
Take your time laying out the main circular frame parts. You'll notice some have a 'male' end and others have a 'female' end. Just slide the smaller end into the larger one. Push them together firmly. You'll repeat this process until the whole circle is formed. Some models might need a few bolts here, so keep an eye out for those.
Attach the Trampoline Legs Securely
Once the circular frame is all connected, it's time for the legs. There should be specific spots on the frame where the legs attach. They usually slide in pretty easily, but if one is being stubborn, a gentle tap with a rubber mallet (maybe with a towel to protect the finish) can help. It's really important that these legs are attached firmly and evenly.
Tighten All Frame Screws and Bolts
After the frame is assembled and the legs are on, go back over all the connections. Check every screw and bolt you've used. Give them a good tighten. A power drill can speed this up, but a regular screwdriver works too. Just make sure nothing is loose. A wobbly frame is no fun and definitely not safe. If you notice any wobbling when you flip the frame over onto its legs (which you'll likely need a partner for), double-check those leg connections and any frame bolts.
Building a trampoline can feel like a puzzle, but taking it step-by-step makes it manageable. Don't rush this part; a solid frame is the foundation for all the fun to come.
If you're looking for a visual guide for a specific model, checking out resources for Skywalker trampoline assembly can be helpful, even if yours is a different brand, as many steps are similar.
Attaching the Jump Mat and Springs
Alright, now that the main frame is all put together and standing on its own, it's time to get the fun part attached: the jump mat and all those springs. This is where things start to look like a real trampoline! It can be a bit of a workout, so don't be shy about asking for help if you need it.
Position the Jump Mat on the Frame
First things first, lay the jump mat out flat on the ground. You'll want to find the side with the V-rings already attached, or if they aren't, you'll need to attach them now. These V-rings are what will connect to the springs later. Look for any markings on the mat that indicate the center or the designated spot for the enclosure door – you'll want to align these with the frame. Carefully lift the mat and place it inside the assembled frame. Make sure it's centered as best as you can. It should sit loosely for now.
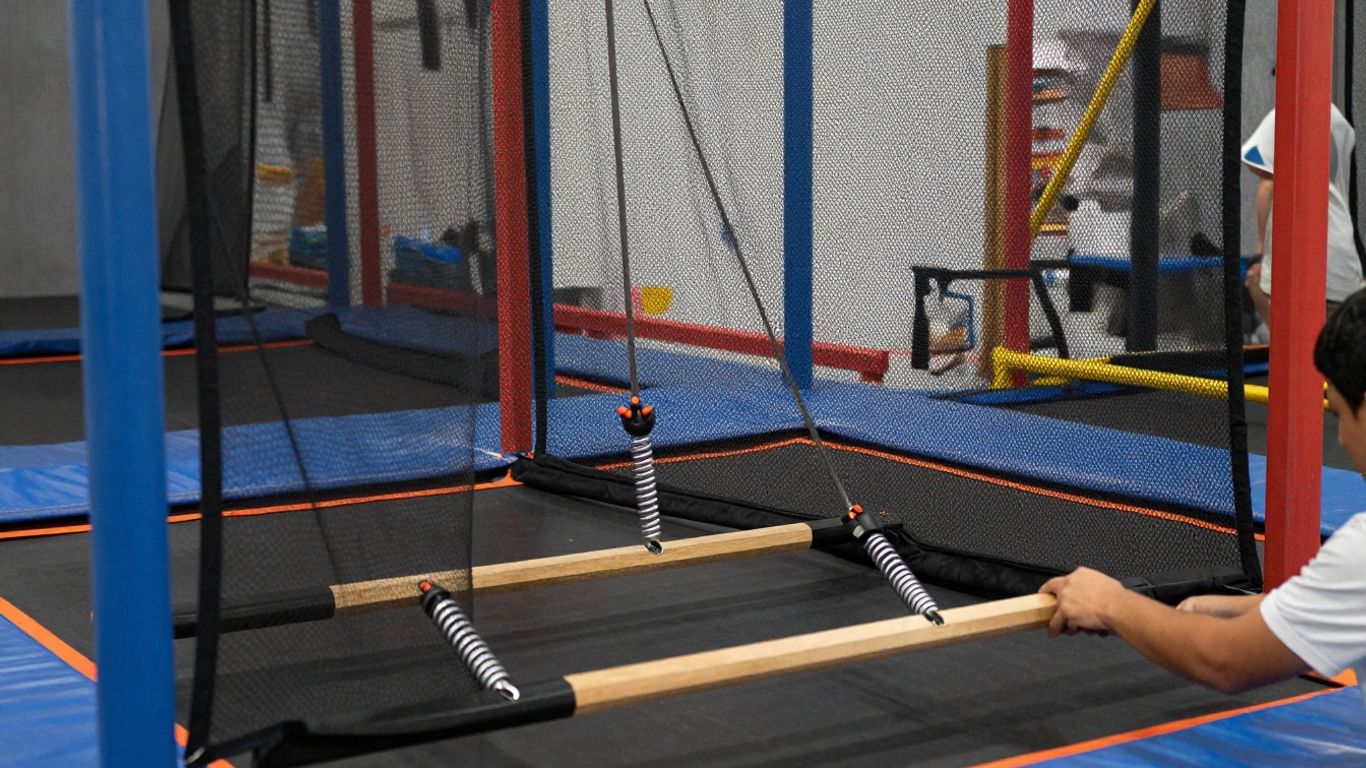
Install Trampoline Springs with a Partner
This step is definitely easier with an extra set of hands. Grab your springs and your spring pulling tool. You'll want to work your way around the trampoline, attaching springs evenly. Start by attaching one end of a spring to a V-ring on the mat and the other end to a hook on the frame. It's super important to attach the springs in an alternating pattern to keep the tension even. So, attach one spring, then skip a few hooks and attach another, and so on, working your way around. This prevents one side from getting too tight before the other.
Here's a general idea of how many springs you might have, depending on your trampoline size:
| Trampoline Diameter | Approximate Number of Springs |
|---|---|
| 8 feet | 40 |
| 10 feet | 54 |
| 12 feet | 64 |
| 14 feet | 72 |
| 16 feet | 80 |
Utilize Spring Pulling Tools for Easier Attachment
Those springs can be pretty stiff, and trying to stretch them by hand is a recipe for sore fingers. That's where the spring pulling tool comes in handy. You hook one end of the tool onto the spring and the other end onto the frame hook, then use the tool to pull the spring into place. It gives you the extra leverage you need. You might find it gets harder to attach the springs as you get more of them on, because the mat starts to tighten up. Just keep at it, and remember to keep that alternating pattern going. Gloves are a good idea here too, just to protect your hands from any pinching.
Take your time with this part. Rushing can lead to uneven tension, which isn't great for the trampoline's performance or longevity. Double-check that each spring is securely attached to both the mat's V-ring and the frame's hook.
Installing Safety Features
Alright, we're getting close to the fun part, but first, we absolutely need to get the safety stuff sorted. This is where we make sure everyone can bounce around without any worries.
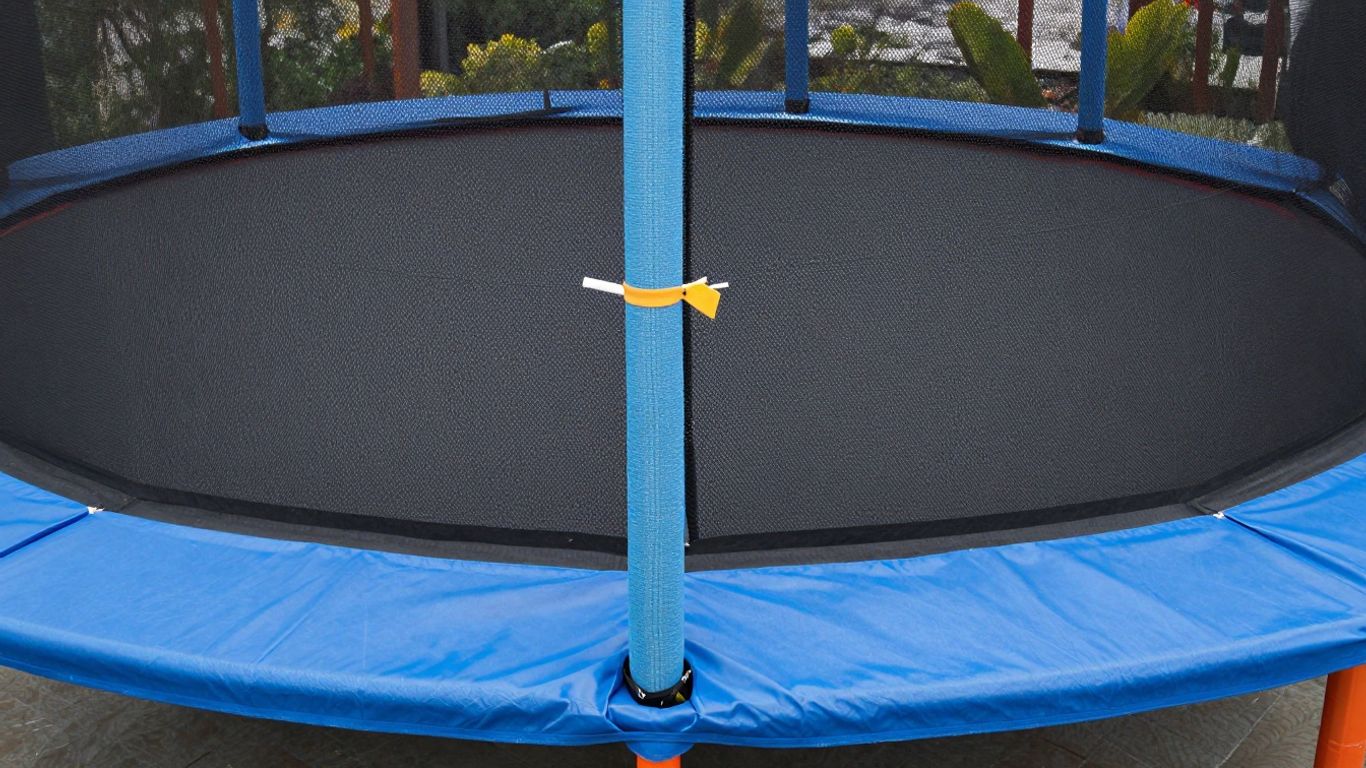
Secure the Protective Spring Pad
This pad is super important. It covers up those metal springs and the frame edges, so nobody accidentally lands on them. You'll usually find it has ties or straps. You'll want to thread these through any loops or holes on the frame and tie them down securely. Make sure the pad is centered and covers everything it's supposed to. It should sit snugly, with no gaps where fingers or toes could get caught.
Attach the Trampoline Enclosure Net
Next up is the enclosure net, also called a safety net. This is your main barrier against accidental tumbles off the trampoline. Unroll the net and find the top edge, which usually has a thicker seam or loops. This edge will connect to the top of the enclosure poles. The bottom edge of the net typically attaches to the trampoline frame or the springs themselves, often with bungees or ties. It's a good idea to have someone help you stretch the net out evenly as you attach it, so it's nice and taut.
Connect Enclosure Posts and Hooks
The enclosure poles are what hold the net up and away from the jumping surface. These usually slide into sleeves on the net and then attach to the trampoline frame, often with U-bolts or clamps. Make sure these are firmly attached to the frame. Some nets also use hooks or clips to secure the bottom edge to the trampoline mat or frame. Double-check that every connection point is secure. You don't want any part of the net coming loose while someone is jumping.
Remember, these safety features aren't just suggestions; they are vital for preventing injuries. Take your time with this step and don't cut corners. A properly installed safety net and pad make a huge difference in how safe your trampoline is.
Here's a quick rundown of what to check:
- Spring Pad: Is it fully covering the springs and frame? Are all ties secured?
- Enclosure Net: Is it stretched evenly? Are there any tears or weak spots?
- Poles and Hooks: Are the poles firmly attached to the frame? Are all net attachment points secured?
Final Checks and Testing
Alright, we're almost there! Before anyone takes a leap, it's super important to do a final once-over. Think of it like double-checking your work before submitting that big project. We want to make sure everything is solid and safe.
Review All Connections for Stability
This is where you become the quality control inspector. Go around the entire trampoline and give everything a good wiggle and shake. Are all the bolts tight? Did any screws loosen up during assembly? Pay special attention to where the legs meet the frame and where the springs attach. A wobbly trampoline is a no-go.
Here’s a quick checklist to run through:
- Frame Joints: Make sure all sections of the circular frame are securely connected and haven't shifted.
- Leg Attachments: Confirm that each leg is firmly attached to the frame and sitting flat on the ground. No tilting allowed!
- Spring Security: Check that every spring is properly hooked onto both the frame and the jump mat. Give each one a gentle tug.
- Enclosure Net: Ensure the net is taut and all attachment points (hooks, bungees, etc.) are secure. The posts should be stable.
- Safety Pad: Verify the protective pad is centered over the springs and securely fastened.
Don't rush this part. It might seem tedious, but a few extra minutes here can prevent a lot of headaches later on. If anything feels loose, tighten it up immediately. It's better to be safe than sorry when it comes to trampolines.
Perform a Test Bounce on the Trampoline
Once you're confident everything is secure, it's time for the moment of truth. Have one person (preferably someone not too heavy to start) carefully get onto the trampoline. Start with some gentle bounces, just to get a feel for it. Listen for any strange noises and watch for any wobbling or shifting. Gradually increase the intensity of the bounces. If the trampoline feels stable and sounds good, you've likely done a fantastic job!
This final test is your confirmation that the trampoline is ready for fun. If you notice any issues during the test bounce, get off immediately and re-inspect the area you suspect might be the problem. Address it, and then test again.
Ready to Jump!
So there you have it! Setting up a trampoline might seem like a big job, and honestly, it can be. But by taking it step-by-step, checking all your parts, and maybe grabbing a friend to help out, you've gotten it done. Remember to double-check everything is tight and secure before anyone takes their first bounce. Now that your trampoline is all set up and safe, it's time for the best part: having a blast and getting some good exercise. Enjoy all those high jumps!
Frequently Asked Questions
How many people are needed to set up a trampoline?
It's much easier and safer to set up a trampoline with at least two adults. While one person might be able to do it, having a helper makes the process go much smoother, especially when attaching springs or flipping the frame.
What tools do I need for trampoline assembly?
You'll typically need a Phillips head screwdriver or a power drill, a rubber mallet, and a spring pulling tool. Gloves are also a good idea to protect your hands from pinch points when working with the springs.
Where is the best place to put my trampoline?
Choose a spot that's flat and clear of any objects like trees, fences, or buildings. Make sure there's plenty of open space all around the trampoline for safety. A level surface is super important!
What if I'm missing a part for my trampoline?
If you discover a piece is missing after unpacking, contact the company you bought the trampoline from right away. They can usually send you the missing part or arrange for an exchange.
How do I make sure the trampoline is safe after setting it up?
After assembly, double-check that all screws and bolts are tight and that the frame feels sturdy. Then, do a few gentle bounces to test its stability before letting anyone jump freely.
Can I set up the trampoline enclosure net myself?
Yes, you can set up the enclosure net yourself. It usually involves attaching bungee loops to the net, connecting and securing the posts, and then attaching the hooks from the loops to the posts. Always follow the specific instructions that came with your trampoline.


0 comments