
Thinking about getting a Skywalker 36 inch mini hopper trampoline assembly instructions guide? It can seem a little daunting at first, right? Like, how hard can it really be to put together a kid's trampoline? Well, I've been there. Sometimes those instructions look simple, but then you get into it and things get a bit… tricky. This guide is here to break down the whole process of putting together your Skywalker 36 inch mini hopper trampoline assembly instructions, step-by-step. We'll go through what's in the box, how to build the frame, get the mat and bands on, and then do a final check. We want to make sure you and your little ones can start bouncing safely and quickly.
Key Takeaways
- Before you start, check that all parts for your skywalker 36 inch mini hopper trampoline assembly instructions are in the box.
- Connect the trampoline legs securely to form the base of the frame.
- Attach the handlebar to the frame for added stability during bouncing.
- Carefully install the jump mat and stretch bands, working in a star pattern to make it easier.
- Double-check all connections are tight and safe before letting anyone jump.
Unpacking Your Skywalker Mini Hopper
Alright, let's get this trampoline out of the box and ready for some bouncing fun! First things first, you'll want to find a clear space to work. Open up that big cardboard box and let's see what's inside.
Contents Of The Box
Inside, you should find everything you need to get this mini hopper assembled. It's a good idea to lay everything out so you can easily see all the parts. Here's a general rundown of what to expect:
- The main trampoline frame pieces
- The jump mat (the part you bounce on)
- A padded frame cover
- Lots of stretch bands (these replace the springs)
- The handlebar and its support pieces
- A bag of hardware (screws, bolts, etc.)
- An assembly manual and any included tools
Identifying All Components
Take a moment to look over each piece. You'll see the round metal frame sections that will connect to form the base. There's the jump mat, usually made of a tough, woven material. Don't forget the handlebar, which will give your little bouncer something to hold onto. The stretch bands are probably the most numerous items; count them to make sure you have all 26. The manual will have diagrams, which are super helpful for matching up the parts.
Tools Included For Assembly
Skywalker usually includes a basic set of tools to get you started. This often includes an Allen wrench, which is handy for tightening bolts. You might also get a small wrench. While these tools work, having your own set of wrenches and a Phillips head screwdriver might make things go a bit faster, especially if you're tightening things up really well.
It's always a good practice to check the parts list in the manual against what you've pulled out of the box. This way, if anything is missing, you can contact customer service right away before you get halfway through assembly and get stuck.
Assembling The Trampoline Frame
Alright, let's get this trampoline put together! This part is all about building the main structure, so pay attention to how things connect. It's not super complicated, but getting it right means a safer bounce for whoever is using it.
Connecting The Legs
First up, we need to attach the legs to the main circular frame. You'll notice the frame has pre-drilled holes. Take one of the U-shaped legs and line it up with a set of holes on the frame. You'll use the provided bolts and nuts for this. Make sure to tighten them securely, but don't go crazy and strip the threads. Repeat this for all the legs. The goal here is a stable base that won't wobble.
Attaching The Handlebar
Now for the handlebar. This is what gives extra stability, especially for younger kids. Find the handlebar support poles. These usually slide into designated slots on the main frame or connect to the leg assembly. Once they're in place, you'll attach the actual handlebar to the top of these supports. Again, use the hardware provided and make sure everything is snug. It should feel solid when you give it a gentle shake.
Securing The Frame Pad
This pad is important because it covers the metal parts and the stretch bands where they connect to the frame. You'll see it has ties or Velcro straps. You need to thread these through the frame and secure them tightly. This prevents little fingers or toes from getting caught. Make sure the pad sits flat and covers all the exposed hardware. It's a good idea to check that the pad is evenly distributed around the frame.
Remember, a well-assembled frame is the foundation of a safe trampoline. Take your time with each step, and double-check that all connections are firm before moving on to the next stage of assembly. It might seem like a lot of steps, but it's worth it for peace of mind.
Here's a quick look at the hardware you'll likely be using:
- Bolts (various sizes)
- Nuts
- Washers
- Allen wrench (usually included)
If you're having trouble with a specific connection, it's always a good idea to refer back to the manual that came with your Skywalker Trampolines 36" Round Mini Hopper. Sometimes a diagram can clear things up instantly.
Installing The Jump Mat And Bands
Alright, let's get this jump mat and those stretch bands attached. This is where your trampoline really starts to take shape. It might seem a little tricky at first, especially with those bands, but we'll get through it.
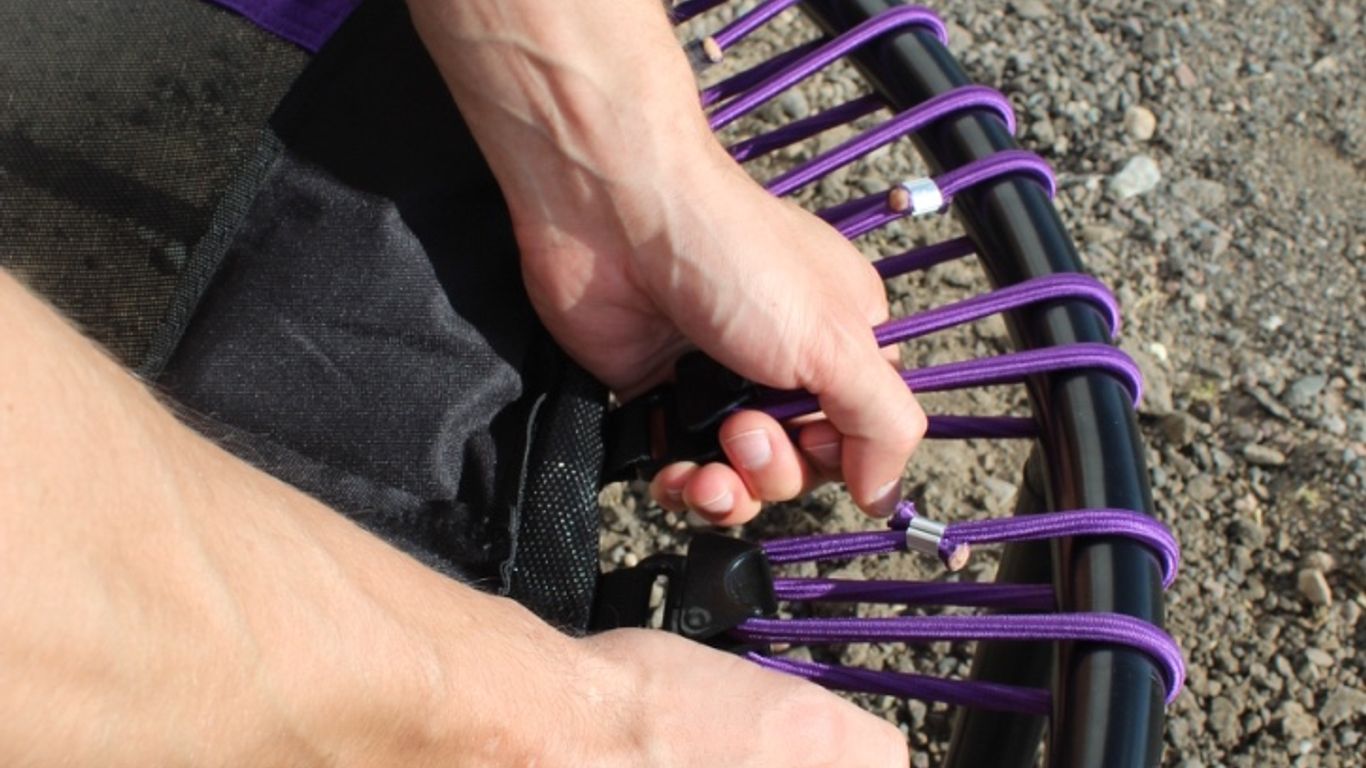
Attaching The Stretch Bands
This trampoline uses stretch bands instead of traditional springs. You'll find 26 of them in the box, and they connect the jump mat to the trampoline frame. The key is to work your way around evenly.
Here’s a general idea of how to get them on:
- Start by attaching one band to a loop on the jump mat and then to a corresponding loop on the frame.
- Move directly across the trampoline to attach another band on the opposite side. This helps keep things balanced.
- Continue this process, attaching bands across from each other. Think of it like drawing a star shape.
- Once you have bands in place at the top, bottom, left, and right, and then at the corners, you can start filling in the rest.
Tips For Easier Band Installation
Attaching these bands can be a bit of a workout for your fingers. They're designed to be tight for safety, which is good, but it makes them tough to hook. Here are a few things that might help:
- Use a "star" pattern: As mentioned, don't try to do a whole section at once. Go across the mat, then across again. This distributes the tension.
- Get a helper: If you have someone around, two sets of hands can make a big difference. One person can hold the band while the other hooks it.
- Take breaks: Seriously, if your fingers start to ache, step away for a minute. You don't want to strain yourself.
Remember, the tightness of these bands is what makes the trampoline safe and bouncy. It's supposed to be a bit of a challenge to get them on, but it's worth it for the final result. Don't get discouraged if it takes a little effort.
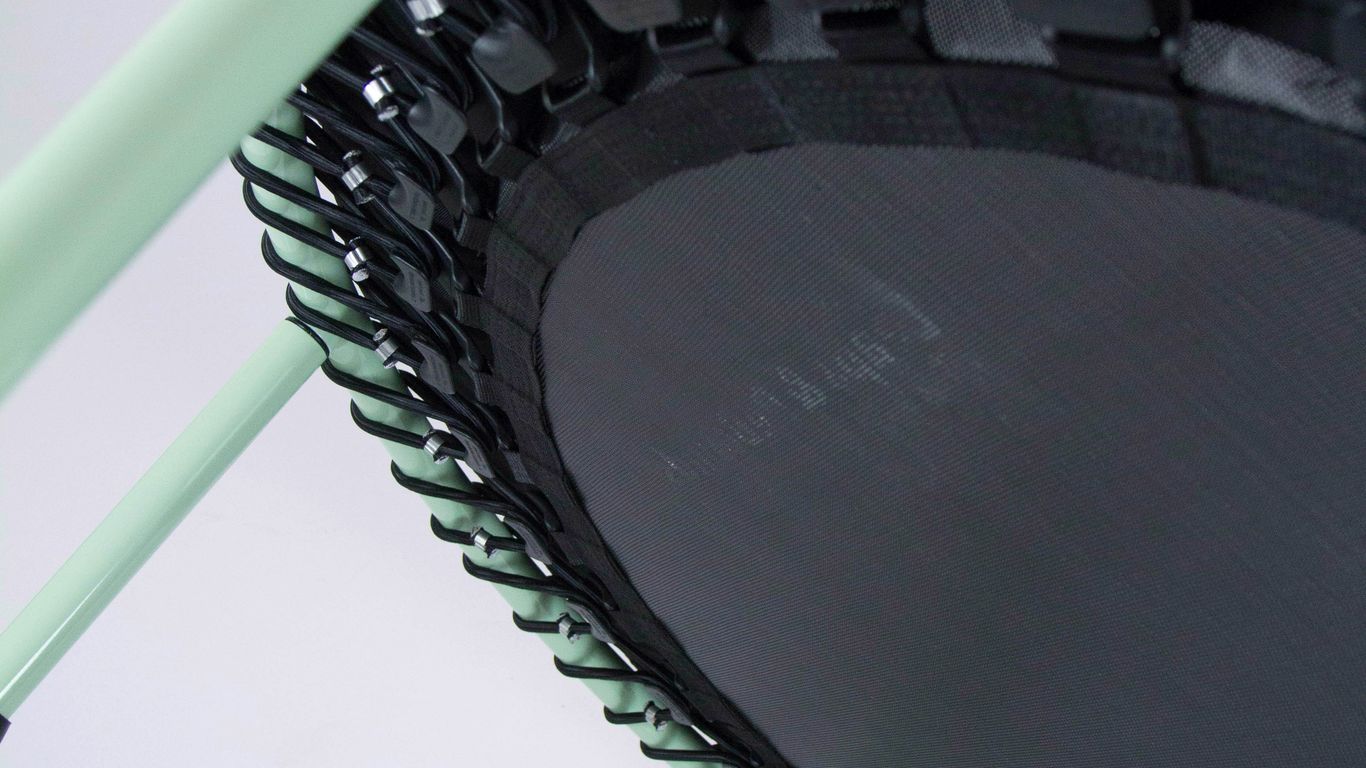
Ensuring Even Band Tension
Getting the tension right is super important for both safety and how the trampoline bounces. If one side is tighter than the other, it can put uneven stress on the frame and the mat. The "star" method of attaching the bands, where you always connect opposite points, is the best way to achieve this. Keep an eye on the mat as you attach the bands; it should look pretty even and centered. If it seems lopsided, you might need to adjust a few bands. This 36-inch mini hopper trampoline is designed for consistent bounce, so taking the time here really pays off.
Final Checks And Safety
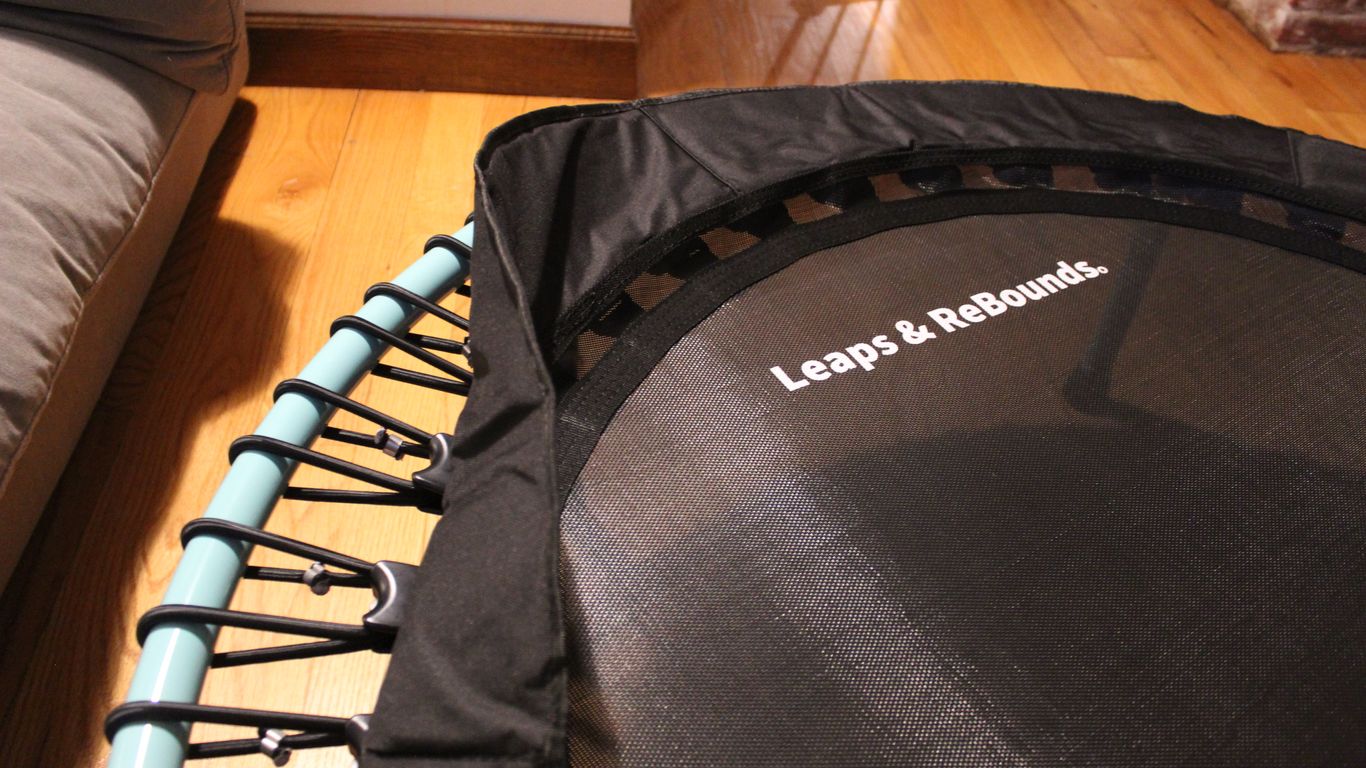
Alright, you've put in the work and your Skywalker Mini Hopper is looking great! Before the little ones hop on, let's do a quick once-over to make sure everything is solid. It's all about keeping those jumps safe and fun.
Verifying All Connections
Take a moment to double-check all the parts you connected. Give the legs a good wiggle to see if they feel secure. Make sure the handlebar is firmly attached and doesn't wobble. You'll want to confirm that the frame pad is sitting nicely over the stretch bands, covering them completely. A quick inspection now can prevent a lot of headaches later.
Understanding Safety Standards
It's good to know that this trampoline is built with safety in mind. It's designed to meet certain safety rules, like those from ASTM International. This means it's been tested for durability and safety. The stretch bands, instead of metal springs, are a big part of this, offering a softer bounce and less chance of pinching. This mini trampoline is designed for toddlers aged 3-7, with a weight capacity of 100 lbs. It meets safety standards and includes an adjustable handlebar for added security during use, making it suitable for both indoor and outdoor play.
Preparing For First Use
Here’s a little checklist to get ready for the first bounce:
- Clear the Area: Make sure there's plenty of open space around the trampoline, especially if it's going to be used indoors. No furniture or other toys nearby!
- Supervision is Key: Always keep an eye on your child when they're using the trampoline. Even with safety features, adult supervision is a must.
- One Jumper at a Time: To keep things safe and prevent collisions, it's best for only one child to jump at a time.
- Proper Footwear (or None): Socks or bare feet are usually best for grip. Avoid shoes that could snag or damage the mat.
Remember, while this trampoline is built tough, it's still a toy. Treat it with care, and it will provide hours of active fun. If you ever feel like something isn't quite right, it's better to stop using it and check it over again. Safety first, always!
Before you start bouncing, make sure everything is secure. Double-check that all parts are tight and the trampoline is on a flat surface. Your safety is our top priority, so take a moment to review our safety guide on our website. It's packed with helpful tips to ensure you have a great and safe workout every time!
All Done!
So there you have it! Your Skywalker 36 Inch Mini Hopper Trampoline should now be ready for some serious bouncing fun. Remember, those bungee bands can be a bit tricky, but taking your time and maybe using a star pattern like some folks suggested really helps. It’s a sturdy little trampoline, perfect for smaller spaces, and hopefully, your little ones will get tons of enjoyment out of it. Happy bouncing!
Frequently Asked Questions
What's in the box when I get my Skywalker Mini Hopper?
When you open the box, you'll find the trampoline itself, the jump mat, a protective frame pad, the stretchy bands for bouncing, all the small parts and screws needed for assembly, and a tool to help you put it together. Don't forget the instruction manual!
How do I put the trampoline legs on?
The legs usually attach easily to the main frame. You'll likely need to connect them to the circular base of the trampoline. Make sure they click or screw in securely so the trampoline is stable when someone is jumping.
Is it hard to attach the stretch bands?
Some people find attaching the stretch bands a bit tricky because they're meant to be tight for a good bounce. A good tip is to attach them in a star pattern – hook one at the top, then the opposite one at the bottom, then the sides, and then fill in the rest. This can make it easier than trying to do a whole side at once.
How do I know if the bands are tight enough?
You'll want to make sure all the stretch bands are attached evenly around the trampoline. When you're done, they should all feel similarly snug. This helps create a balanced and safe bouncing surface.
What safety features does this trampoline have?
This trampoline is designed with safety in mind. It uses stretch bands instead of metal springs, which can be safer for little jumpers. It also has a padded handlebar for support and a soft pad that covers the bands for extra protection.
Can I return the trampoline if I have trouble assembling it?
Generally, you can return products within a certain time frame, often 30 days, if you're not happy or have issues. However, it's always best to check the specific return policy for the retailer you purchased from, especially if you've already started assembly.


0 comments